FLUX 3 Bounding-Box Prompts: Layout Guide With Examples | Panda Prompt
PROMPT WRITING
How to Write Bounding-Box Layout Prompts for FLUX 3 Image (Step by Step)
FLUX 3 Image turns layout into a structured input: draw boxes on a 0-to-1000 grid, describe each element, and the model composes the scene around your plan. This guide shows exactly how to author element tables, combine them with captions and reference images, and iterate edits without breaking the layout.
EDITORIAL GUIDE2 min read
Why layout prompting beats plain prose
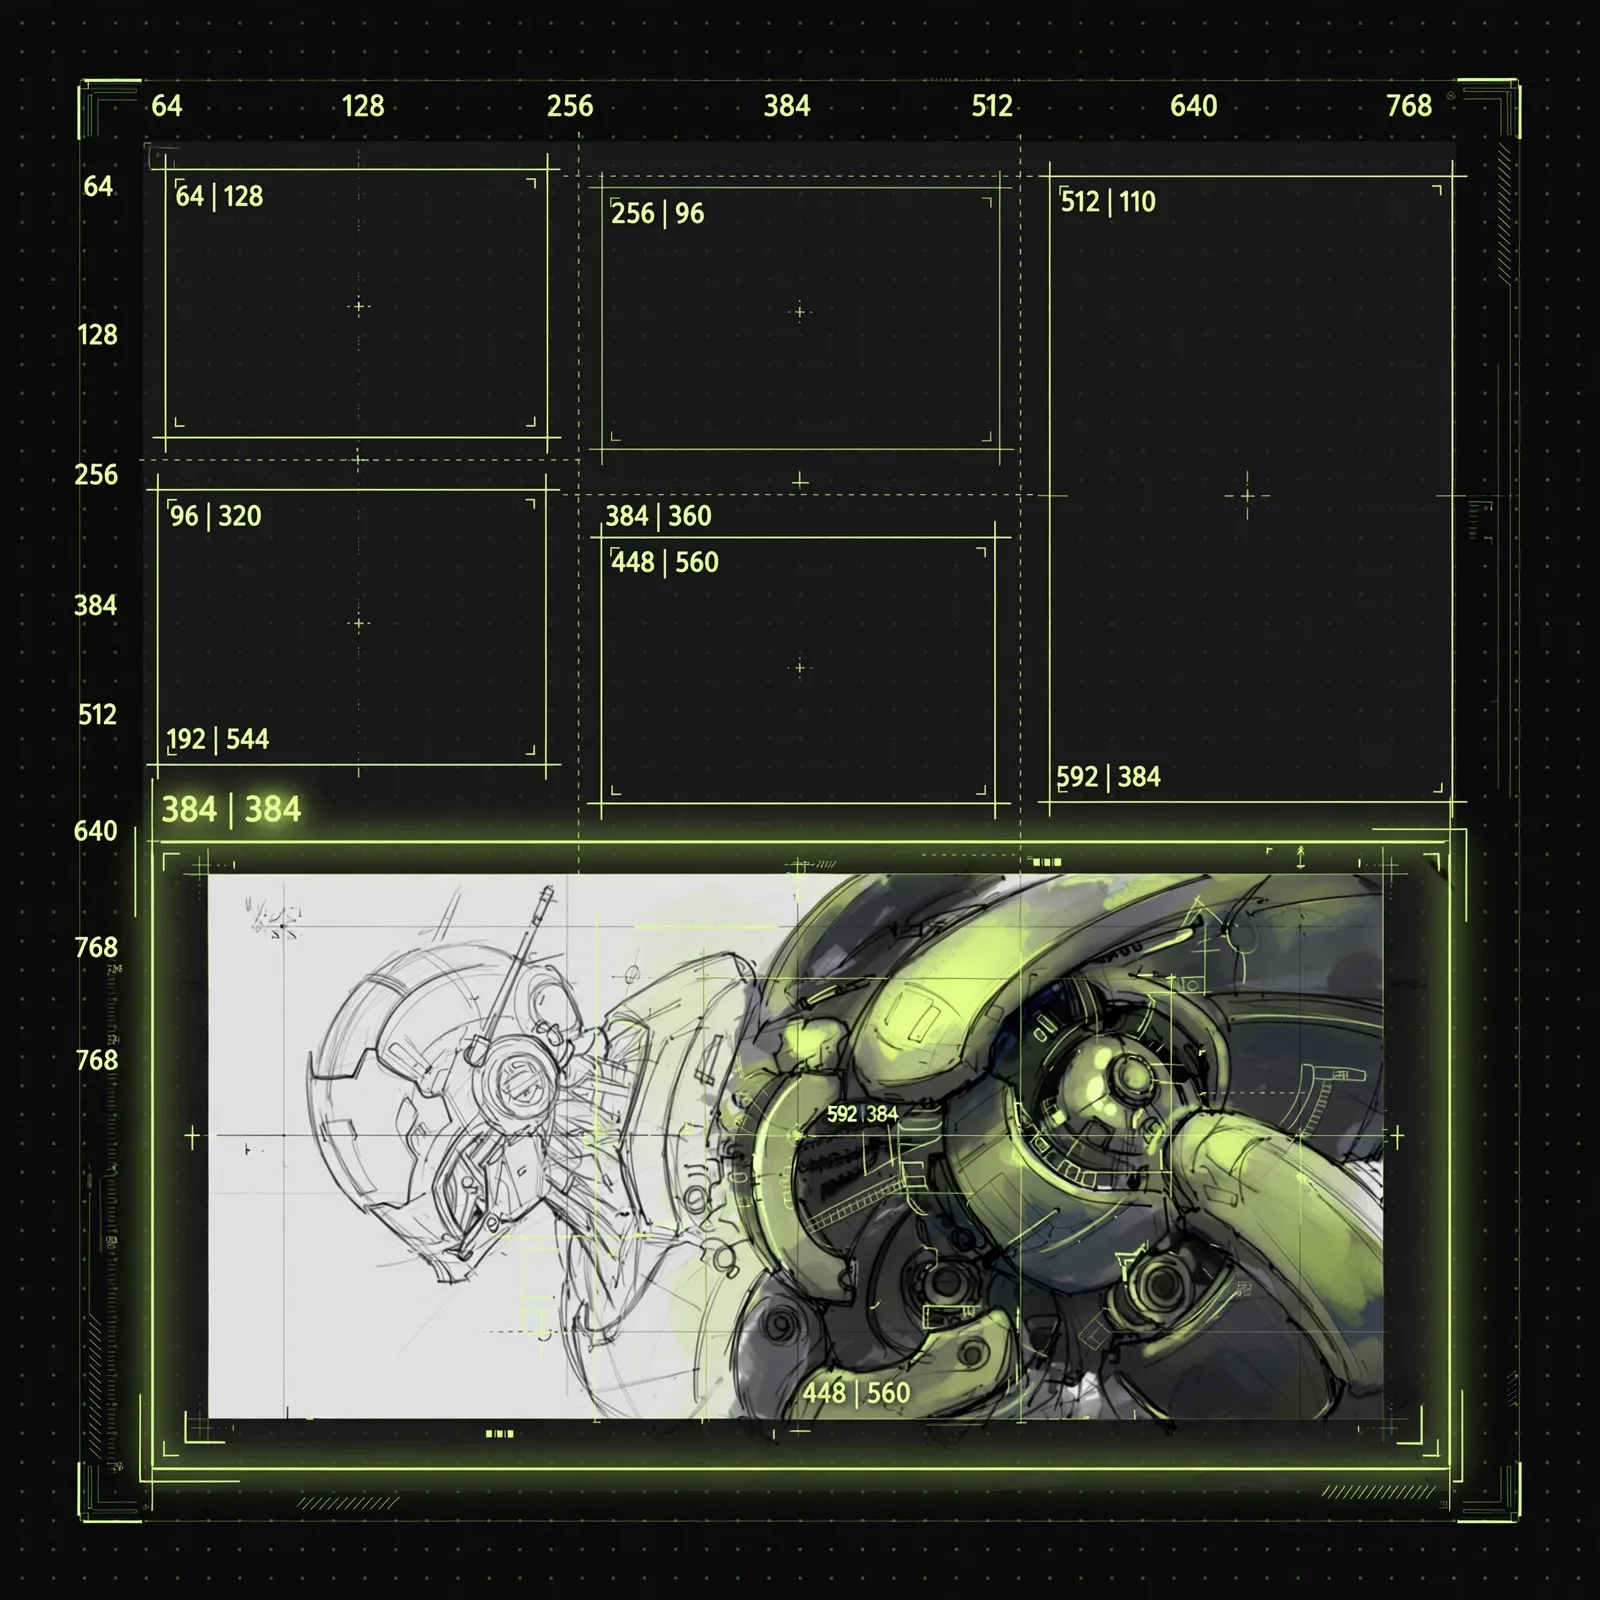
Text-to-image models infer composition from prose, which makes precise layouts hard to reproduce: "product on the left, headline top-right" comes out differently every run. FLUX 3 Image accepts a structured scene layout — a JSON element table plus a scene caption — so positions become explicit inputs instead of wishes. Each element gets an ID, a description, and a bounding box, and the model renders the final image around that plan.
The 0-to-1000 coordinate grid
Every canvas is mapped to a normalized grid from 0 to 1000, measured from the top-left corner, independent of aspect ratio or pixel size. A box is written as [top, left, bottom, right] — for example, [150, 50, 850, 650] places an element spanning most of the frame's left side. Because the grid is resolution-independent, the same layout lands in the same relative spot on a 768px square and a 4K frame, so you can author once and render at any size.
Anatomy of an element table
Advertisement
Ad Placement (guide-detail-inline)
id — a short unique name per element (product_1, headline_1, bg_1) that stays editable across editing turns
bbox — [top, left, bottom, right] integer coordinates on the 0-1000 grid
desc — a concrete natural-language description of what belongs in the box (material, color, style, lighting)
Scene caption — one overall sentence tying the elements together (mood, setting, camera)
References — up to 10 images that pin style, character, or product identity
The 5-step layout workflow
Step 1 — Write the brief in one paragraph: what the image is for and what must appear. Step 2 — Sketch the boxes: list each element with rough coordinates before touching the model. Step 3 — Pair boxes with descriptions: keep each desc visual and specific (a matte-black espresso machine, brushed steel) rather than abstract. Step 4 — Generate with a scene caption plus the element table, optionally attaching reference images. Step 5 — Iterate by element: edit one box's description or coordinates per turn; IDs persist, so untouched elements stay stable.
Prompting for text inside the image
For short English lettering on labels, packaging, or posters, quote the exact text and state where it goes: a paper poster on the wall that reads "OPEN LATE". Put the text element in its own box with generous margins — cramped text boxes are where lettering artifacts start. Keep strings short; a headline renders far more reliably than a paragraph.
Combining layout with references and edits
Up to ten reference images can ride along with a layout: one for the product, one for the style, one for the background. For edits, send the image and name the element precisely enough that only one thing matches — "the red bird's beak" rather than "the bird." FLUX 3 Image expands your instruction into a detailed prompt and often adds the box itself, returning the expanded prompt (including any boxes it added) so you can see what it understood. Boxes and IDs remain editable between turns, so a layout can be stored as project state and revised element by element.
Prompt Example
Scene caption: "Minimal studio product shot of a matte-black espresso machine on a light oak counter, soft morning window light, shallow depth of field." Element table: [ { "id": "bg_1", "bbox": [0, 0, 1000, 1000], "desc": "bright minimalist kitchen, light oak countertop, softly blurred white cabinets" }, { "id": "product_1", "bbox": [200, 300, 800, 700], "desc": "matte-black espresso machine, brushed steel accents, gentle highlight on the left edge" }, { "id": "text_1", "bbox": [860, 350, 960, 650], "desc": "small elegant label on the counter that reads 'BREW SLOW'" } ]
API mechanics worth knowing
On the BFL API, aspect_ratio defaults to auto, so edits keep the source image's shape. Submit, then poll the returned polling_url until status is Ready, and download the result within one hour. Send only documented fields — the endpoint rejects unknown ones (no seed, width, or input_image) with an HTTP 422. A free browser demo and a region-based "Precise Editing" tool are available for testing layouts before you spend API credits.
Frequently Asked Questions
What is the FLUX 3 Image bounding-box format?
Each element is an ID, a description, and a box as [top, left, bottom, right] integers on a normalized 0-to-1000 grid measured from the top-left corner. The grid is resolution-independent, so the same layout works from 768px to 4K without recalculation.
Do I have to draw boxes for every generation?
No. For simple edits, name the element precisely in your instruction and FLUX 3 Image will often find it and add the box itself, returning the expanded prompt so you can verify. Use explicit boxes when placement matters — posters, product composites, multi-element scenes.
How many reference images can I use?
Up to ten in a single generation. Combine them with the element table: one reference can pin the product's identity, another the art style, another the background — while boxes control where each lands.
How do I keep edits from breaking the layout?
Edit one element per turn and keep its ID. Element IDs and coordinates persist across editing turns, so revising product_1's description or nudging its box leaves bg_1 and text_1 stable.
Why does my in-image text look wrong?
Usually the text box is too small or the string too long. Quote the exact wording, give the text element its own generously sized box, and keep it to a short headline — a few words render far more reliably than a sentence.
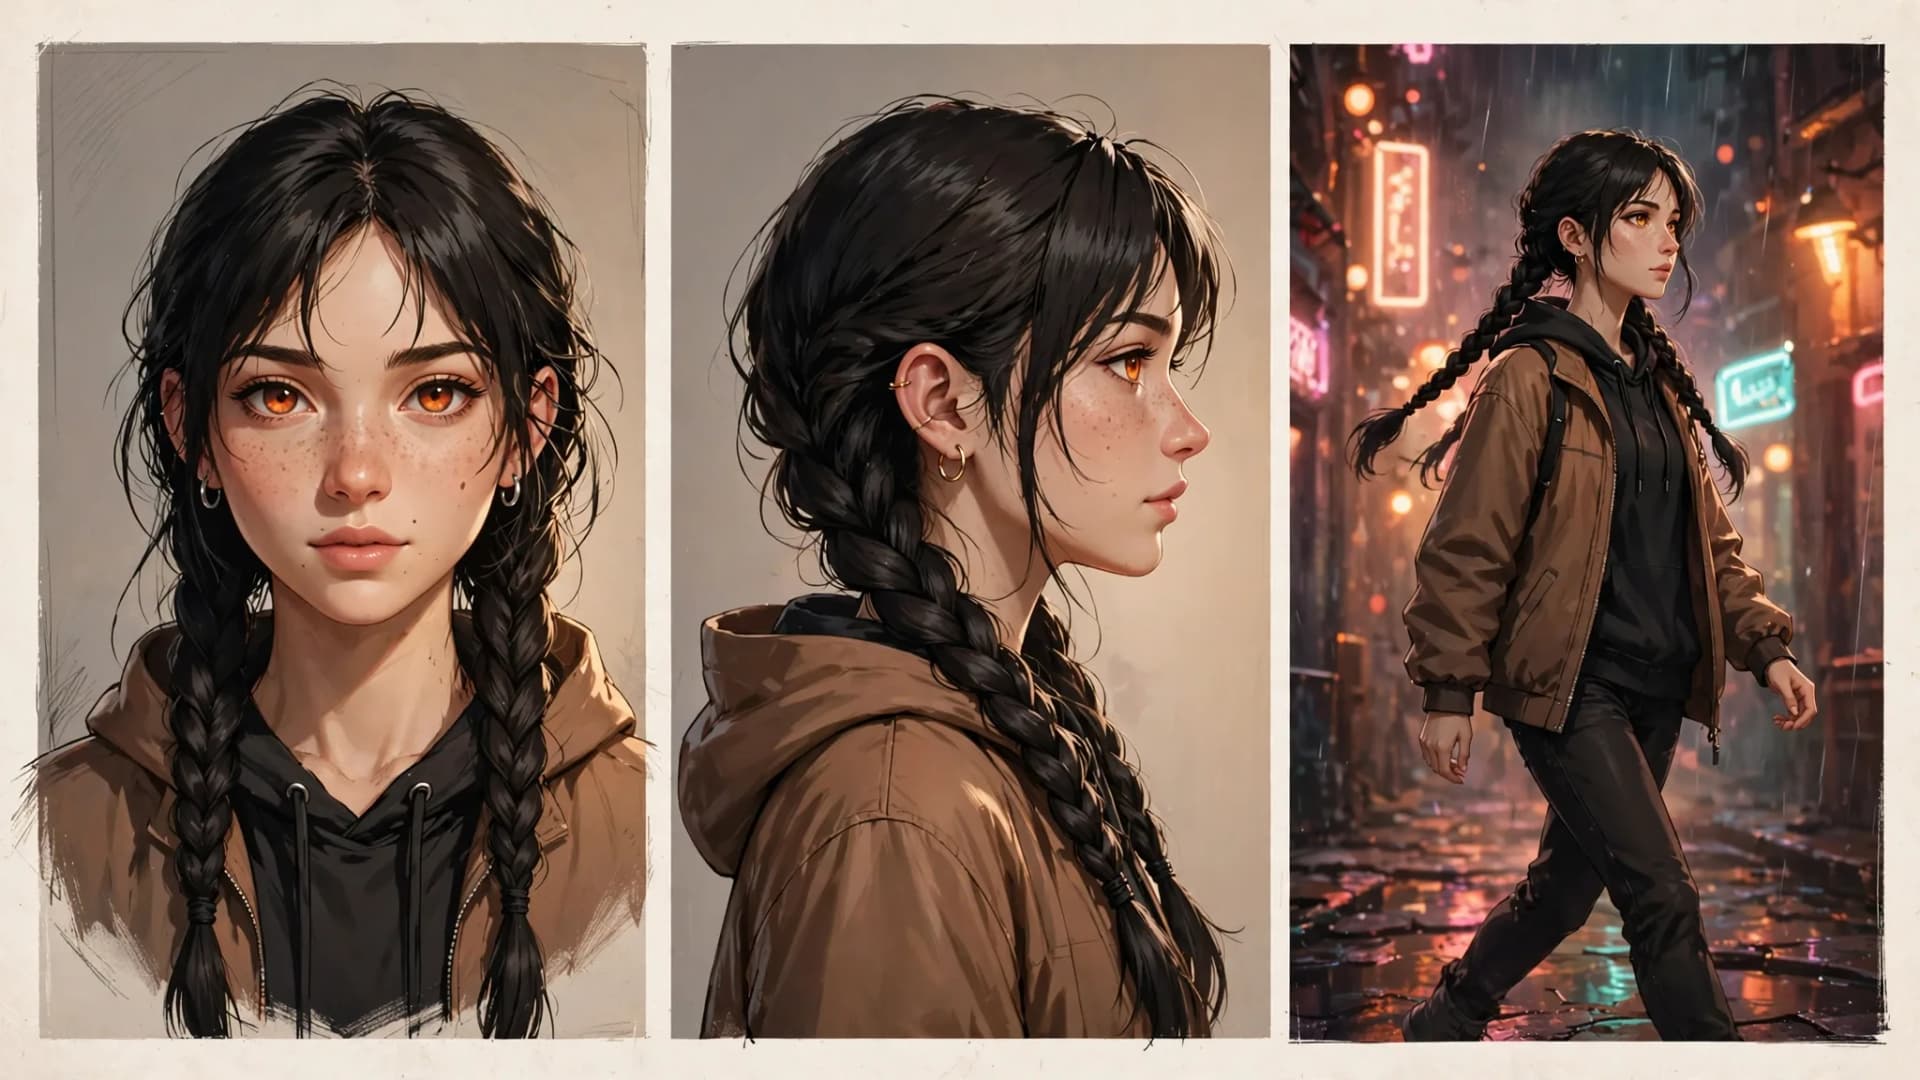
The hardest part of AI storytelling is keeping one character looking like the same person across images. These five techniques — reference locking, description blocks, seed control, style anchors, and edit-based workflows — will keep your character recognizable from panel to panel.
Stop getting generic AI images. This practical guide breaks prompt writing into seven repeatable ingredients — subject, action, style, lighting, camera, composition and negative constraints — with worked examples you can copy and adapt.